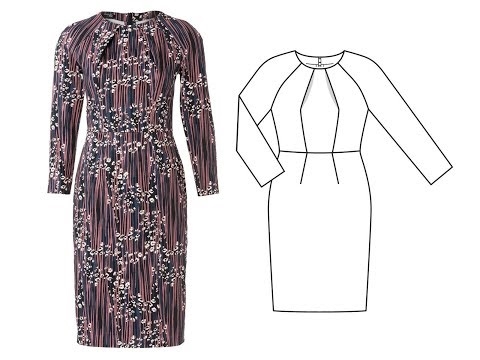
How to build a pattern of sleeve-wings and add them to a top or dress.

Wing sleeves look charming, cute and romantic - they are well suited for a light summer dress or top. This master class is about how to build a pattern of such sleeves and add them to a thing.

Modeling a sleeve with drapery and a cutout on the shoulder
You will need:
- bodice pattern or cut-out details of the bodice;
- centimeter or flexible ruler;
- the usual ruler;
- compass;
- paper and pencil to build patterns;
- tailor pins;
- scissors;
- sewing machine and thread.
We sew sleeves wings for a top or a sundress
Step 1

Determine how wide the sleeves will be - at what points of the armhole they will begin and end. On the shelves and the back, mark these points and draw lines at a distance of 1 cm from the armhole, as shown in the figures (if you are working with a paper pattern, 1 cm is not necessary to retreat). Measure the length of these lines on two patterns and add these values. To build a sleeve pattern, draw a straight line equal to the result of the sum of measurements. Find the middle of the line and draw a semicircle. Cut 2 sleeve details by adding seam allowances and machining.
Step 2

Work on the semicircular edges of the details of the sleeves (in the case of thin fabrics, for example, the Moscow seam - a master class here, a role seam on the overlock, and so on).
Shoulder stitches should be performed. Fold the parts with their faces inward, find the middle of the sleeve part and pin it at this point to the place of the shoulder seam.
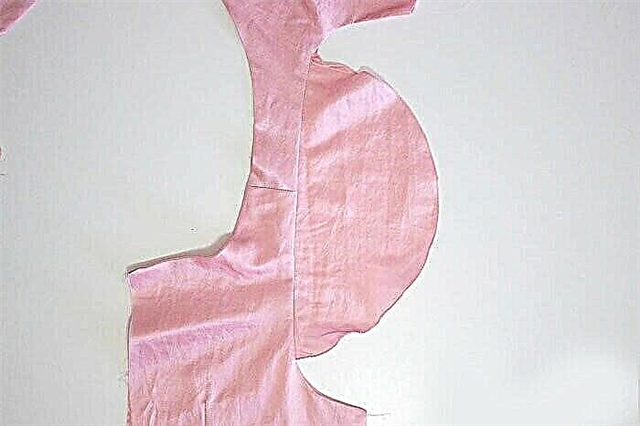
Step 3

Pin the sleeve to the armhole. So that the free part does not interfere, it can be rolled up and stabbed.
Step 4
Stitch sleeves and sew seams. Work the bottom of the armhole.
Photo and source: mellysews.com