In our selection there are patterns of different models of pillows for pregnant women and step-by-step master classes with videos for sewing pillows and pillowcases, plus tips for choosing a pillow and filler model.
Features of Pillows for Pregnant Women
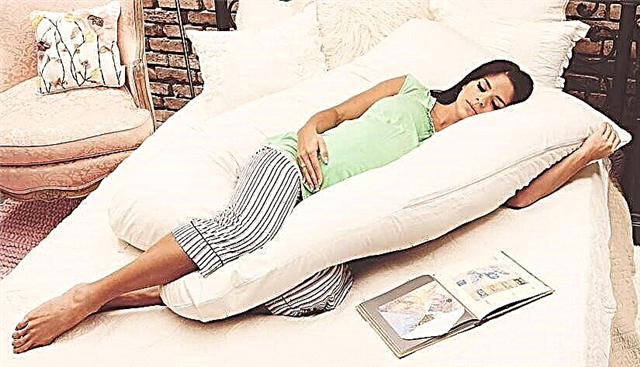
Photo: orniteam. it
Pillow for pregnant women - a device that helps a pregnant woman to occupy the most comfortable position on the bed. With the growth of the gestational age and, accordingly, the abdomen, it becomes uncomfortable for many to sleep in the usual postures. Sleep on the stomach is excluded, lying on the back for a long time is harmful, so most often you have to sleep on your side (most of the time - on the right, sometimes turning to the left). To ensure that the position of the body and the grown abdomen is as comfortable as possible, plus - to prevent accidental turning over on the back and sleep in the recommended position, a pillow for pregnant women is used.
Although this device is called a pillow, it supports not only the head and shoulders, but the whole body, gently fixing it in the right position, squeezing nothing and not pinching, creating a pleasant support.
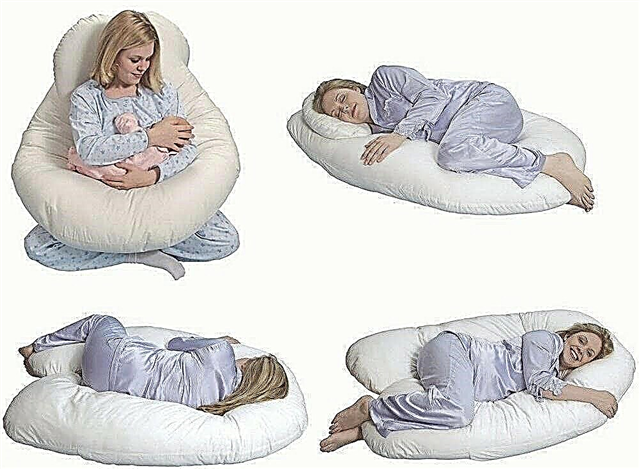
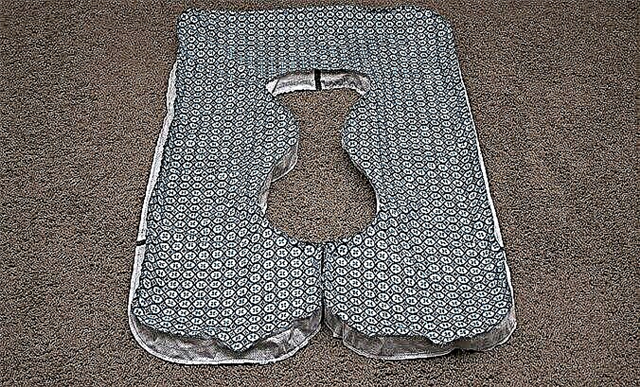
Photo: thefeministshopper.wordpress.com
By the way, many pillows can be used after childbirth. For example, with their help, it is convenient to create support for mom and baby during feeding (then you need to sew ribbons to the ends of the pillow and tie them to form a ring).
How to sew a cocoon for a newborn: a detailed workshop
Pillow for pregnant women: how to choose the right shape
Pillows for pregnant women come in a little different shapes:
1. The most common pillows in the shape of the letter U or P (and their varieties with a figured neckline in the middle).
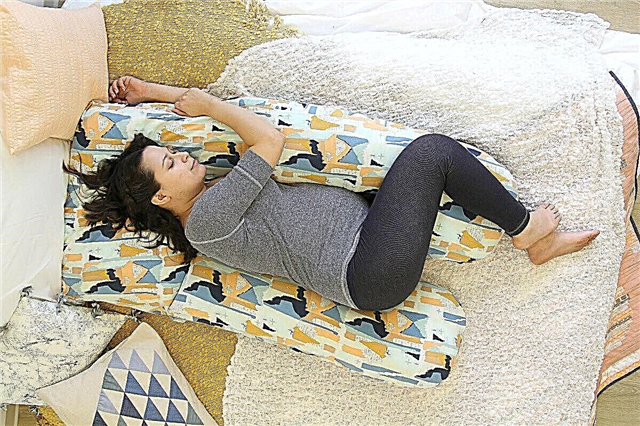
Photo: agfblog.com
Pros of this form: uniform support of the back and abdomen, the ability to roll from side to side without turning the pillow.
Minus: the pillow takes up a lot of space.
2. The second option is a pillow in the shape of the letter G or C. Its essence is the same, only the cutout is not located at the bottom, but on the side.
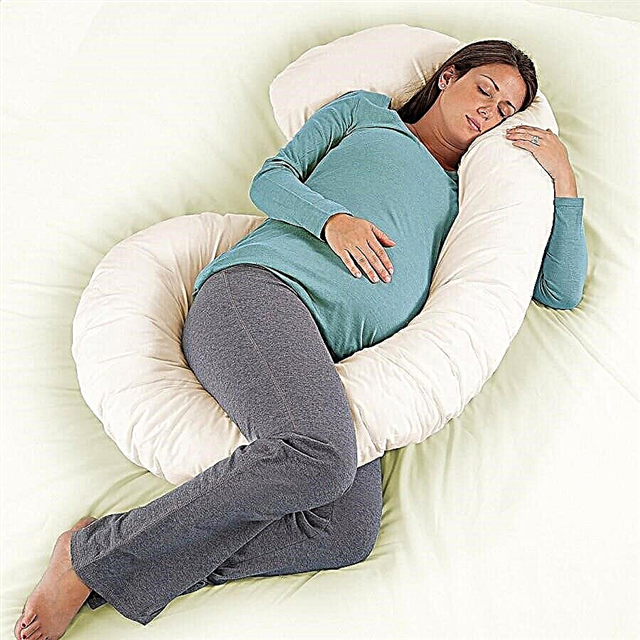
Photo: babybargains.com
Its advantages: well unloads the back, stomach, legs.
Minus: turning over on the other side, you have to turn over and pillow.
3. Banana pillow, or L-shaped pillow. This is a long roller, slightly bent on one side or on both sides. (By the way, the roller can be straight - this is already a very simple option.)
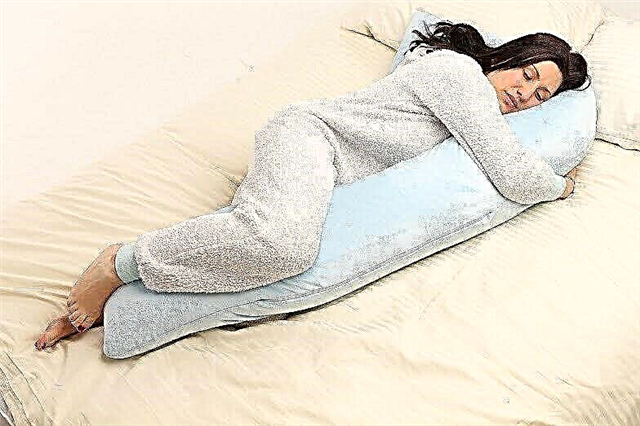
Photo: lifeofmum.com
Pros of the banana: compactness, mobility, the ability to use on trips.
Minus: when turning over, the pillow will have to be shifted, support is only on one side.
A good way to choose the shape that suits you is to go to the store where such pillows are sold and try on different models, and then sew the pillow at home with your own hands.
How to sew the sides in a crib: two easy ways
Maternity Pillow: Materials
If you are going to sew a pillow yourself, pay attention to the choice of materials.
the cloth
You can sew a pillow and pillowcase to it separately (with a zipper or other fastener) - it will be more convenient to wash the pillowcase. And for the pillow itself and for the pillowcase, choose natural materials that are not too thin, but also not rough - for example, cotton, soft linen, calico.
The choice is also important filler for pillows:
1. Hollofiber, syntepuh
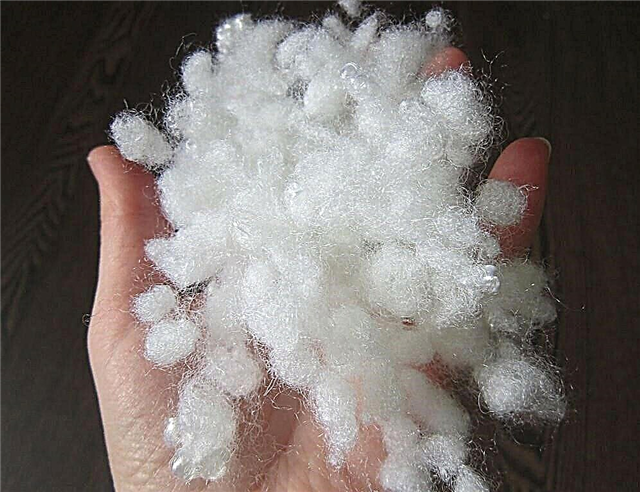
Photo: bigl.ua
Pros: lightweight, hypoallergenic, holds well, inexpensive, washable.
Minuses: softness, water permeability (if you use such a pillow after feeding, you will often have to wash it).
2. Expanded polystyrene in balls
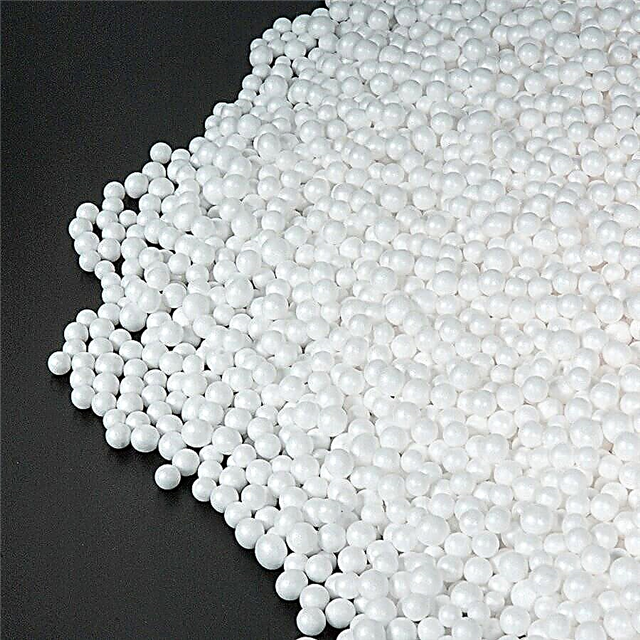
Photo: mwmaterialsworld.com
Pros: lightness, hypoallergenicity, elasticity, water-repellent properties.
Minuses: Over time, the balls “deflate” a little, rustle when moving (they may interfere with sleep), working with polystyrene foam is not easy, it is not recommended to wash a pillow with such a filler, especially in a typewriter.
3. Buckwheat husk

Photo: sleepsugar.com
Pros: environmentally friendly material.
Minuses: heavy, dear, cannot be washed.
Most often, holofiber is chosen as a filler for such pillows. In terms of the totality of qualities, this choice is optimal. If you want the pillow to be softer, do not stuff it too tightly. For greater elasticity, stuff the pillow more tightly.
Also required:
- paper, pencil and ruler to build patterns;
- crayon;
- scissors;
- pins;
- sewing machine and thread;
- if you sew a pillow and pillowcase on a clasp - a zipper about 50 cm long.
DIY baby blanket
Pillow for pregnant women: patterns
Each pillow model needs its own pattern. Here are the main types:
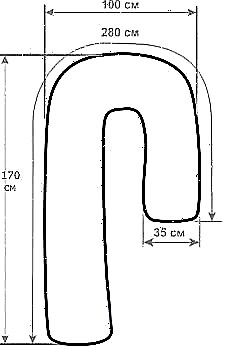
Simple U-shaped pillow:
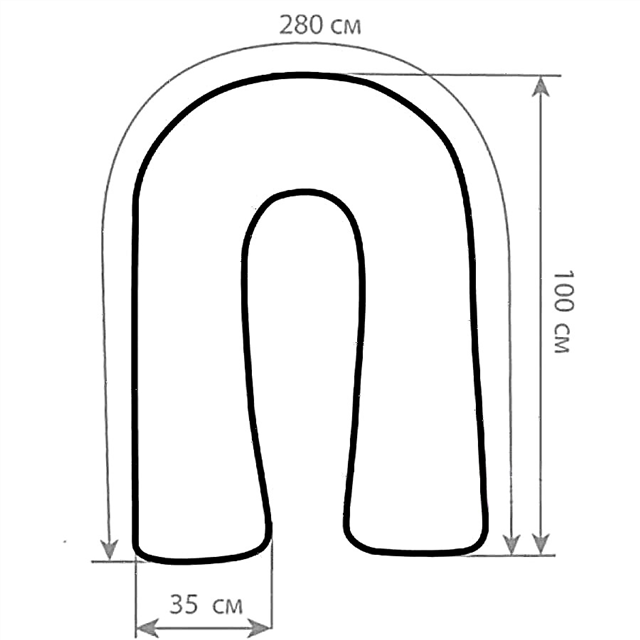
U-shaped pillow with a figured neckline:
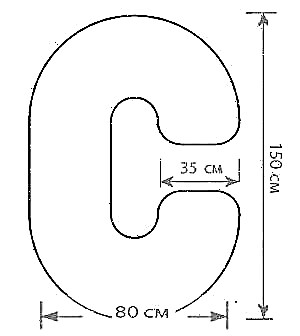
C-shaped pillow-bagel:
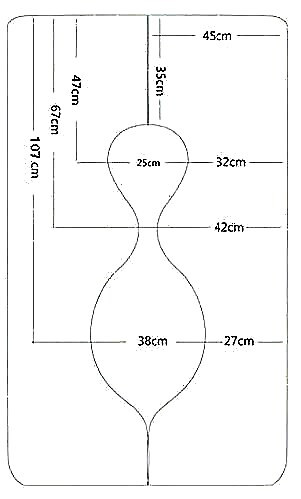
L-shaped pillow:
Banana Pillow:
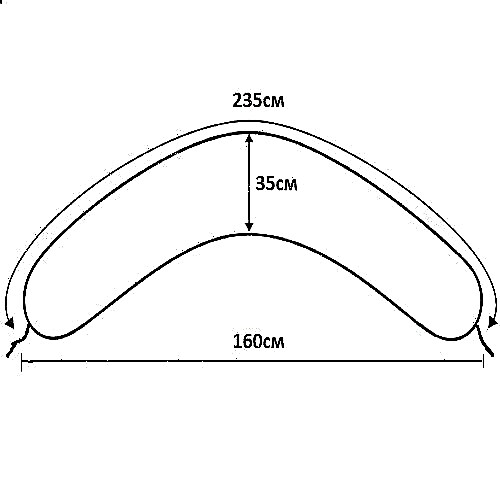
Photo: Pinterest
DIY envelope for a newborn
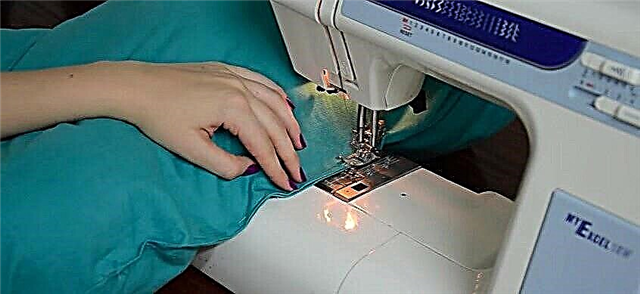
How to sew a pillow for pregnant women: a simple workshop

This is a simple master class showing how to sew any of the pillow models without a clasp. Holofiber is used as a filler.
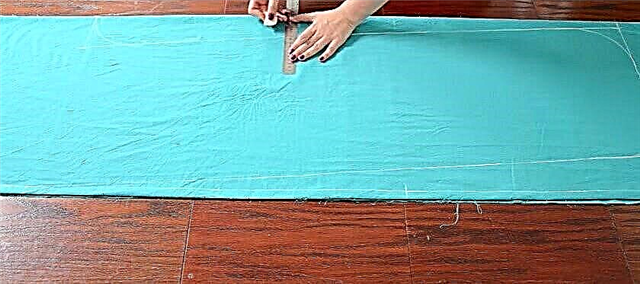
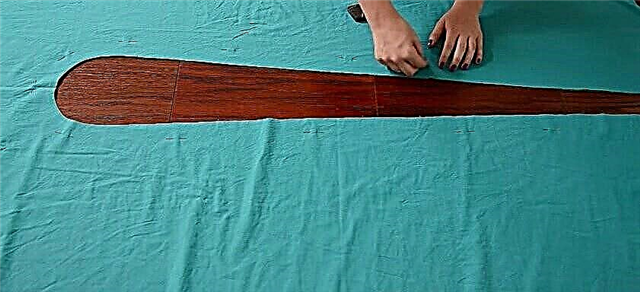
1. Draw a pattern on a large piece of paper and cut it out. You can also transfer the pattern directly to the fabric. We need two identical parts of the pillow, so fold it in half before opening.
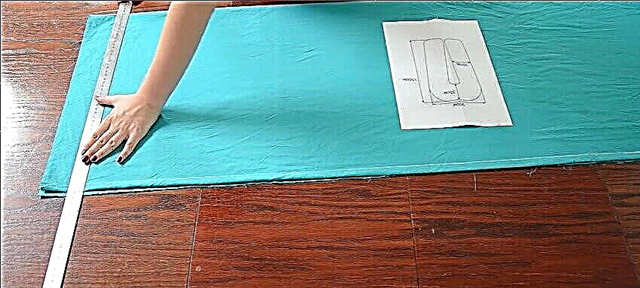
2. Having drawn the details, add 1 cm to the allowances and cut out the details.
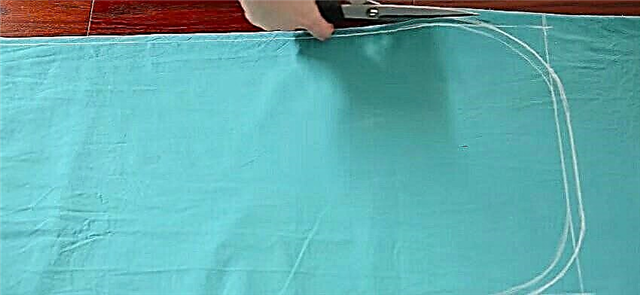
3. Fold the parts evenly and pin them with pins (the front side of the fabric is inside).
4. Lay the stitch by stitching the two parts of the pillow. Leave a hole of about 20 cm as shown. Make stitches at the beginning and end of the line. Once you have done the line, remove the pins.

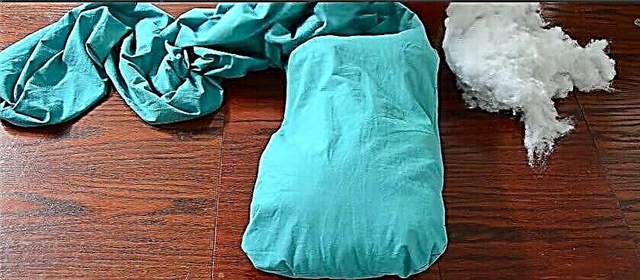
5. Turn out the pillow. Through the hole, evenly fill it with a holofiber.
6. Now you need to sew up the remaining hole. To do this, first stitch the seam allowances inward.
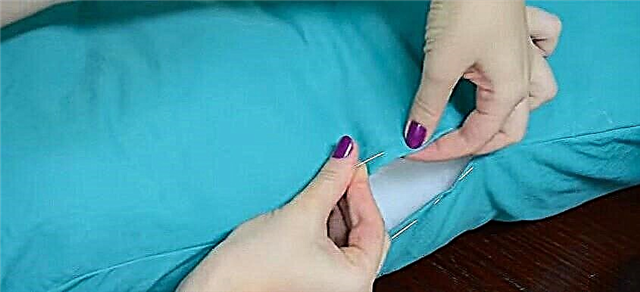
7. Sweep the edges of the hole, removing pins one at a time.
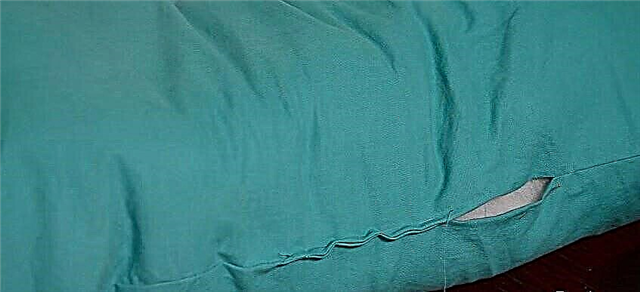
8. Stitch the hole on the machine backing away from the edge of 2 mm. Make stitches at the beginning and end of the line. Remove the basting and cut off the unwanted ends of the thread. The pillow is ready!
More details - in the video:
Photo and source: YouTube / Daria Doll
How to sew a pillow with a zipper for pregnant women or a pillowcase for a pillow: a master class
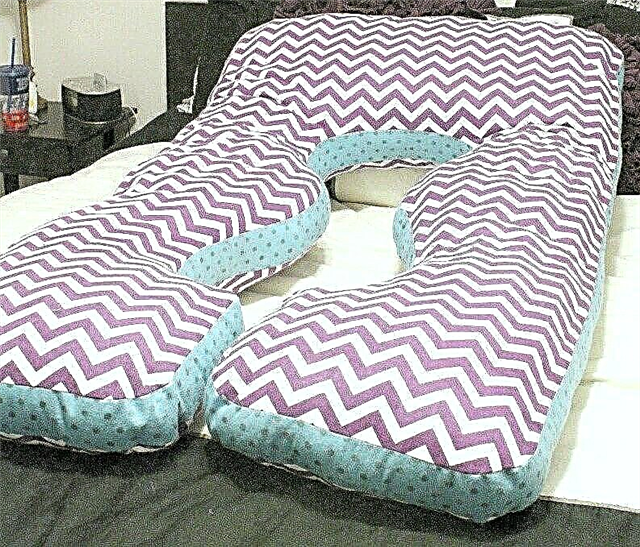
Photo: Pinterest
Following the instructions of this master class, you will sew a pillow with a zipper: the filler can be removed from it before washing. Also, according to this instruction, you can sew a removable pillowcase with a zipper for your pillow. Take the same pattern on which you sewed the pillow, and add the side part in the form of a strip - it will provide a free fit for the pillowcase. A zipper is sewn into the same strip (a convenient zipper length is about 50 cm).
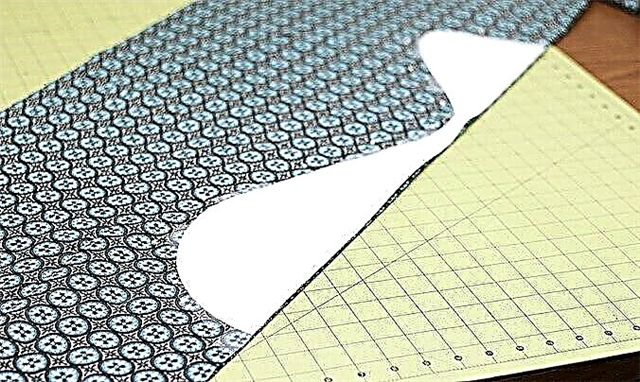
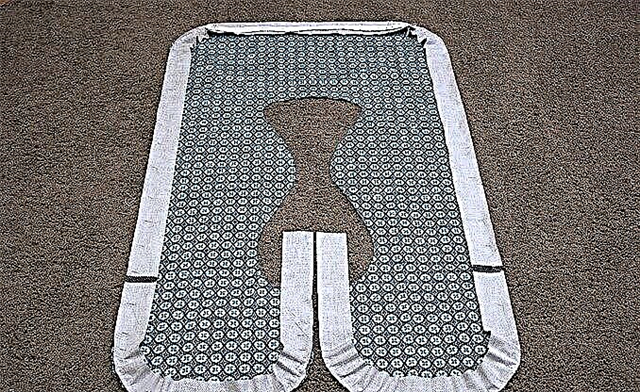
1. Select a pattern, transfer it to the fabric (in this case, the pattern for the U-shaped pillow with a figured neckline is used).
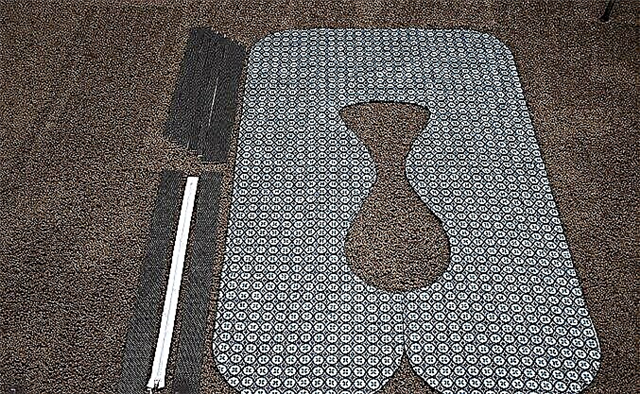
2. Add seam allowances (1 cm) and cut out two identical parts of the pillow. Also prepare the details for the barrels: you need one long or several short (they can be sewn) strips of fabric, plus two strips 4 cm longer than your zipper. The width of the strips can be chosen at your discretion, on average - 7-10 cm (the height of your pillow will depend on this thickness). The total length of the strips in the finished form should be enough for the entire perimeter of your pillow.
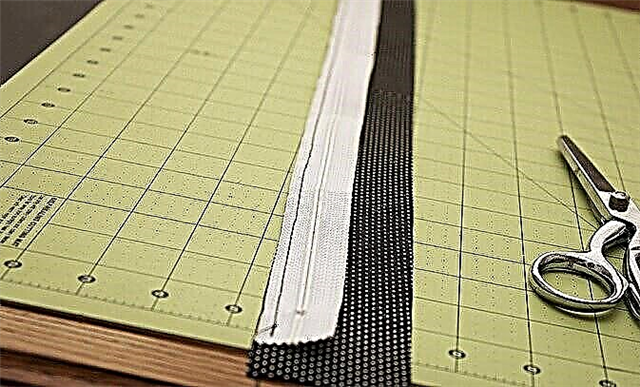
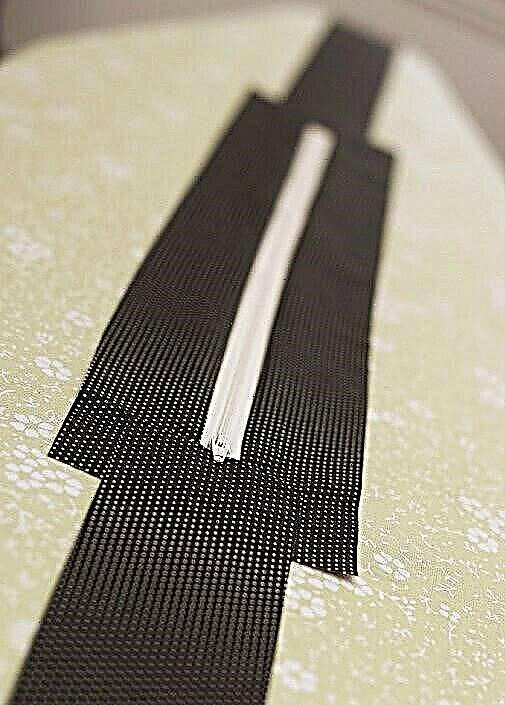
3. Between the two strips cut 4 cm longer than the zipper, sew in the zipper as shown in the photo.
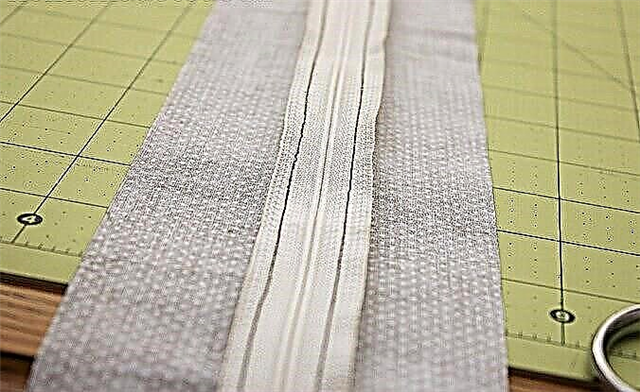
4. Now sew a piece with a zipper between the other two strips.
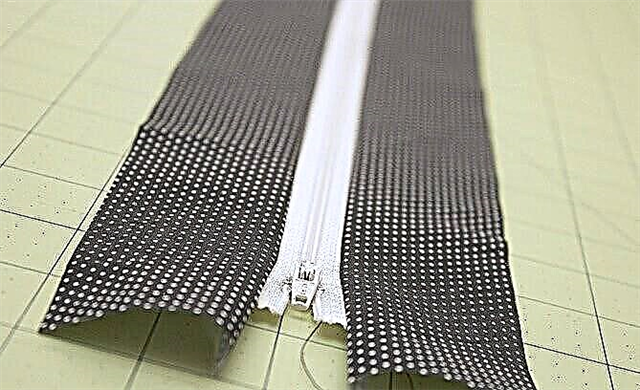
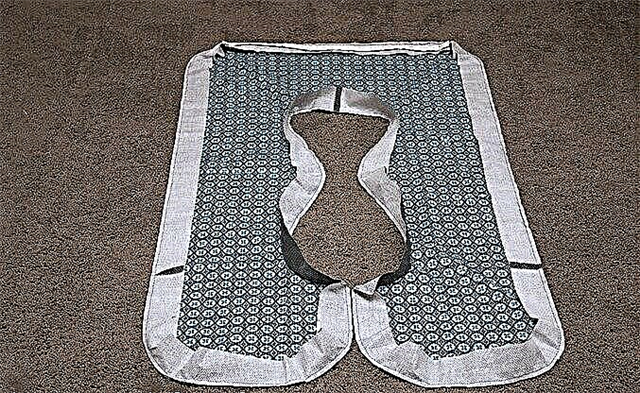
5. Spread the barrel part around the perimeter of the pillow detail. The line with lightning should be in the middle at the top. If the strip lengths are not enough, sew on more pieces of the desired length.
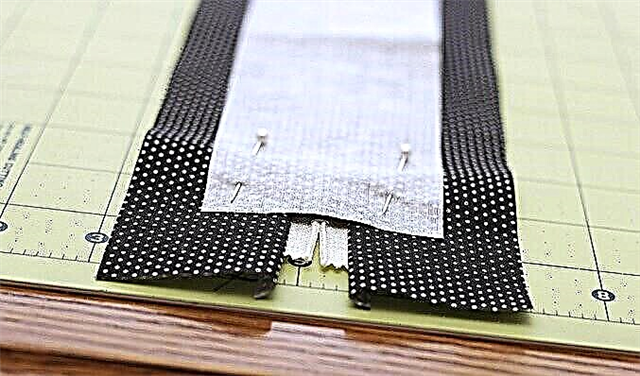
6. Along the entire perimeter, pin the barrel part face to face to one of the pillow parts and stitch it.
7. Sew the ends of the strip as shown in the photo.
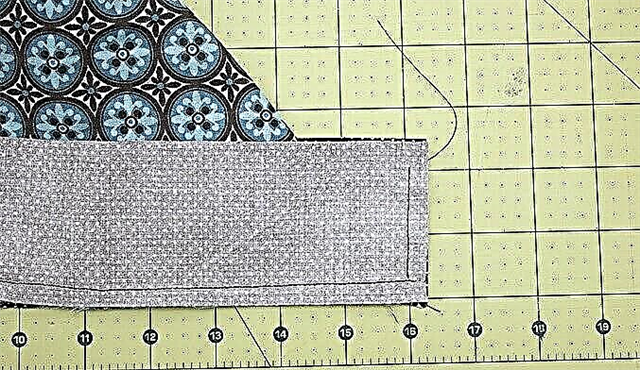
8. Using the same technology, pin the second pillow piece face to face to the strip and sew it on.
9. It remains to unzip, unscrew the pillow and fill with holofiber.
Photo and source: homemadetoast.com